
BOX BASES (TRAY)
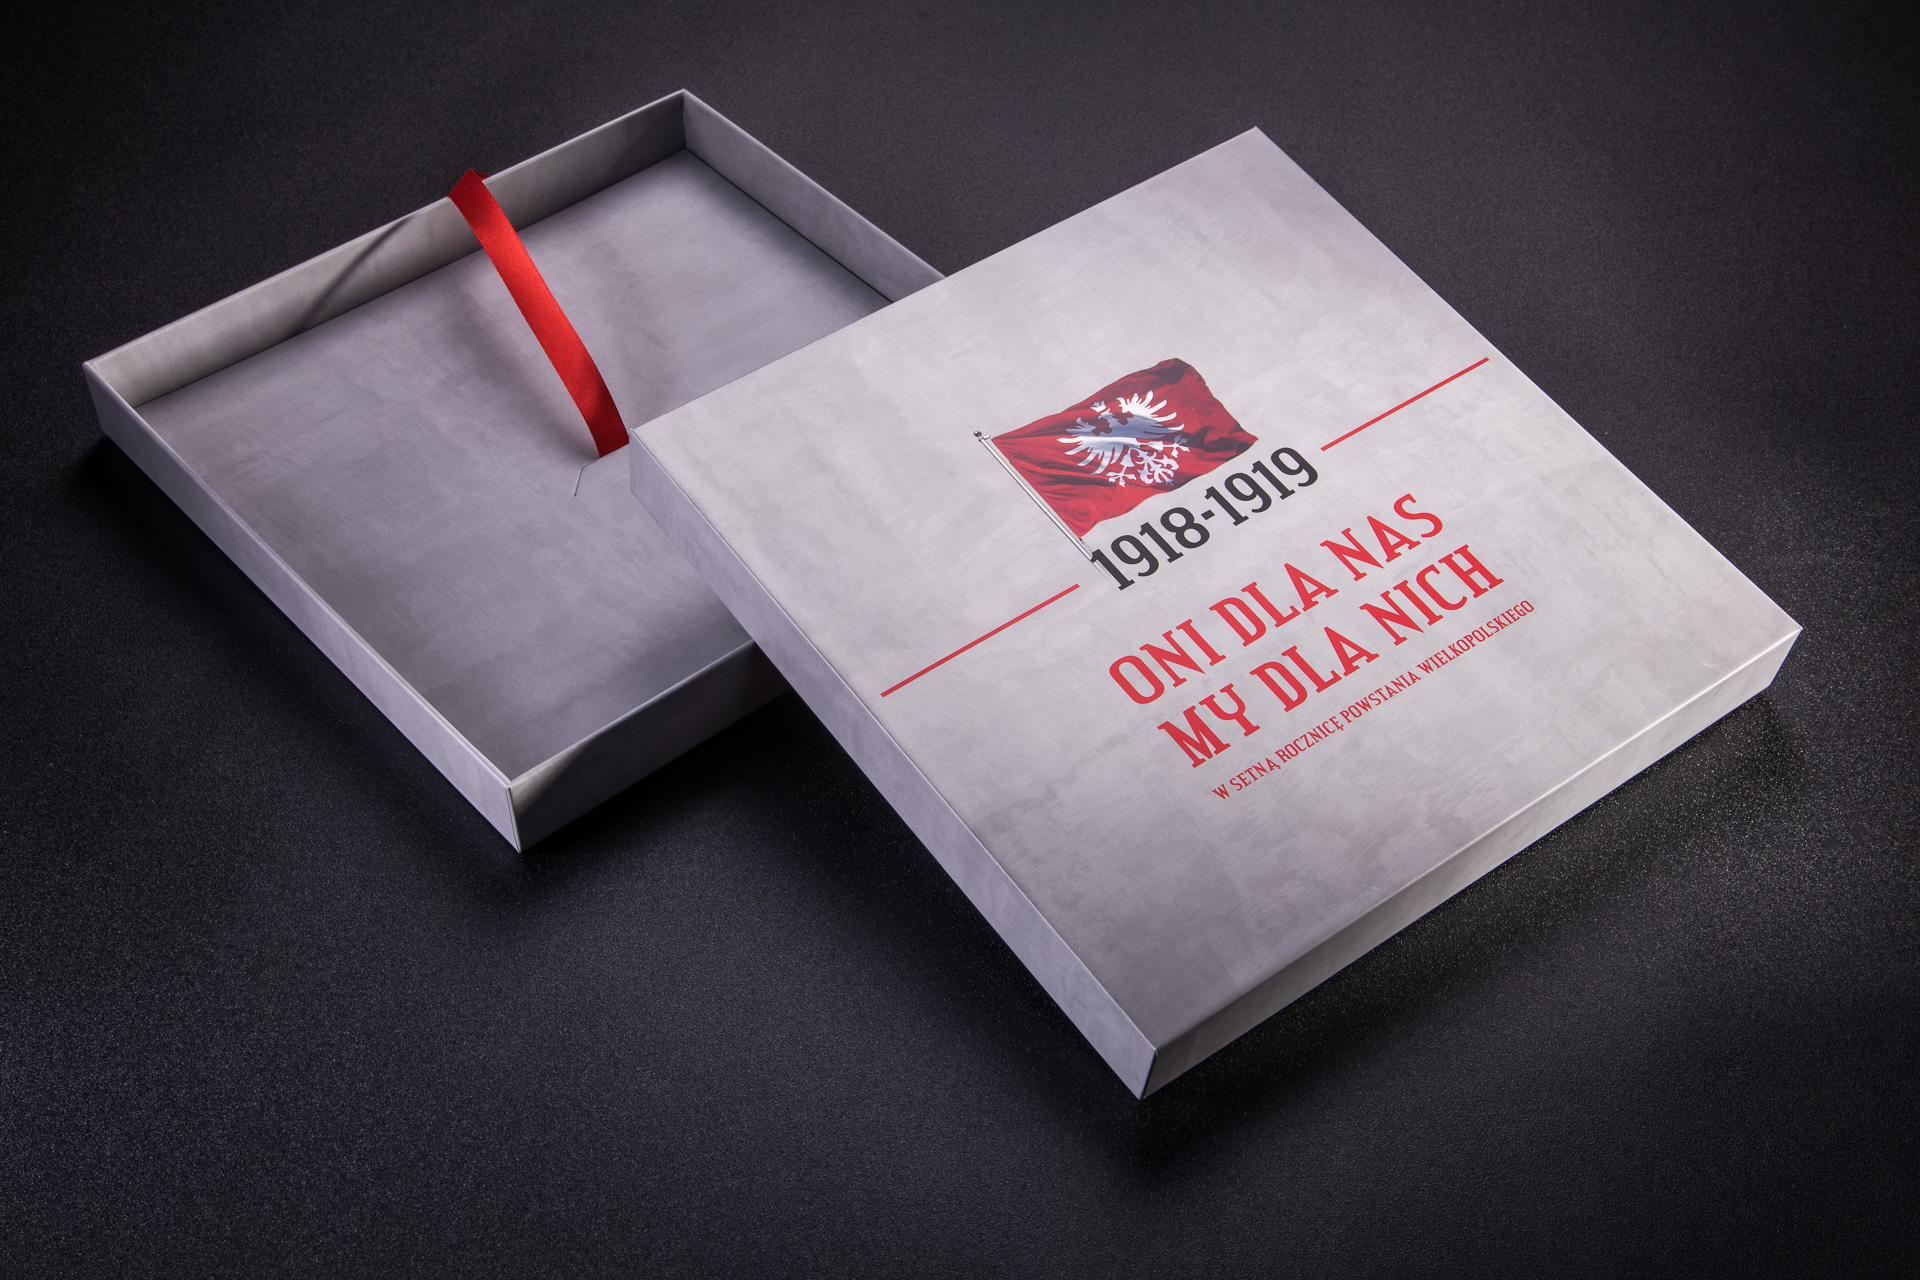
Almost every box has the main part – the base. For example, a bottom-lid (PSW) type box consists of two bases. One is called the bottom, the other is the lid. Below we describe the basic characteristics of the bases. There are many possibilities for their product. All bases have similar characteristics:
- the base for its construction is a cardboard cross
- after being formed into the shape of the box, it is covered with a covering. The covering is folded inwards.

SIZE
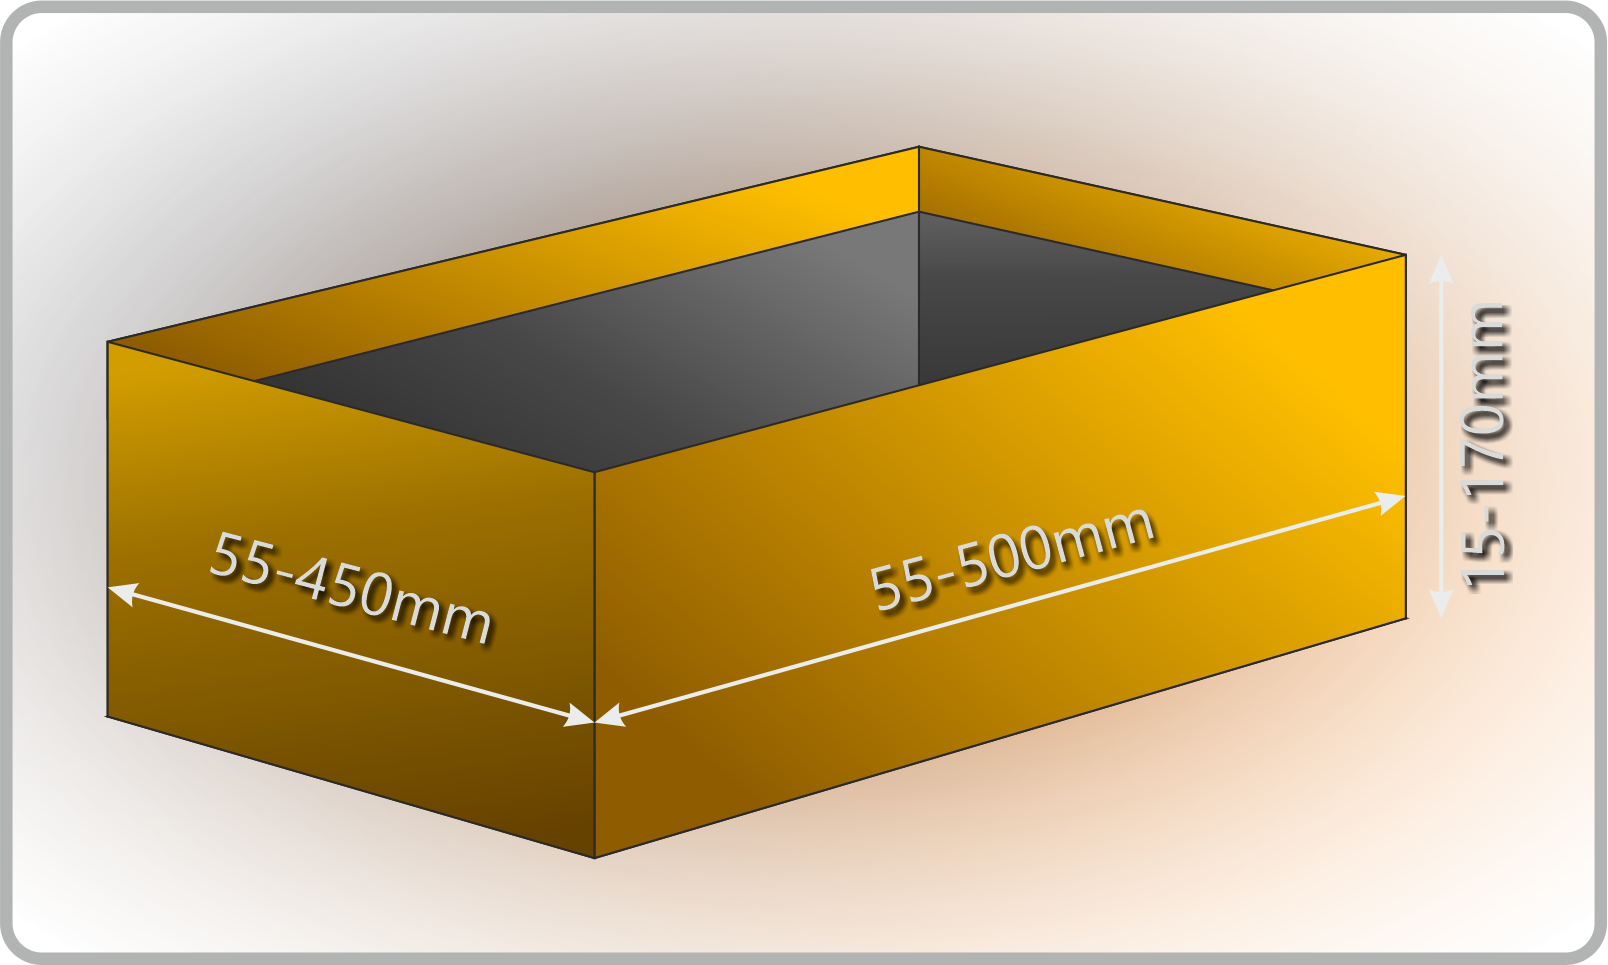
The boundary sizes of the bases that can be machined are:
- surface minimally 55x55mm and maximally 450x500mm
- the height of the base can range from 15 to 170mm
At the boundary values, there are certain limitations. We cannot automatically produce boxes with all minimum or maximum parameters. For example, a box of 55x55x15mm cannot be made. To maintain the size of 55x55mm, the minimum height must exceed 25mm.
CREASE OR V-SHAPE
The cardboard on the tray bends along the grooves or creases during shaping. The type of technology used affects the appearance of the box, and the differences between these techniques are discussed HERE.
WRAPPER (covering)
The wrapper is a thin material that covers the cardboard skeleton.
The topic of different types of wrappers and printing on them was discussed HERE. The type of wrapper is a matter of customer needs and taste. It is what the customer sees and touches.
The shape and length of the wrapper sheets have a significant impact on the appearance and functionality of the box. A few sentences about that are below.
CENTRAL FOLDINGS
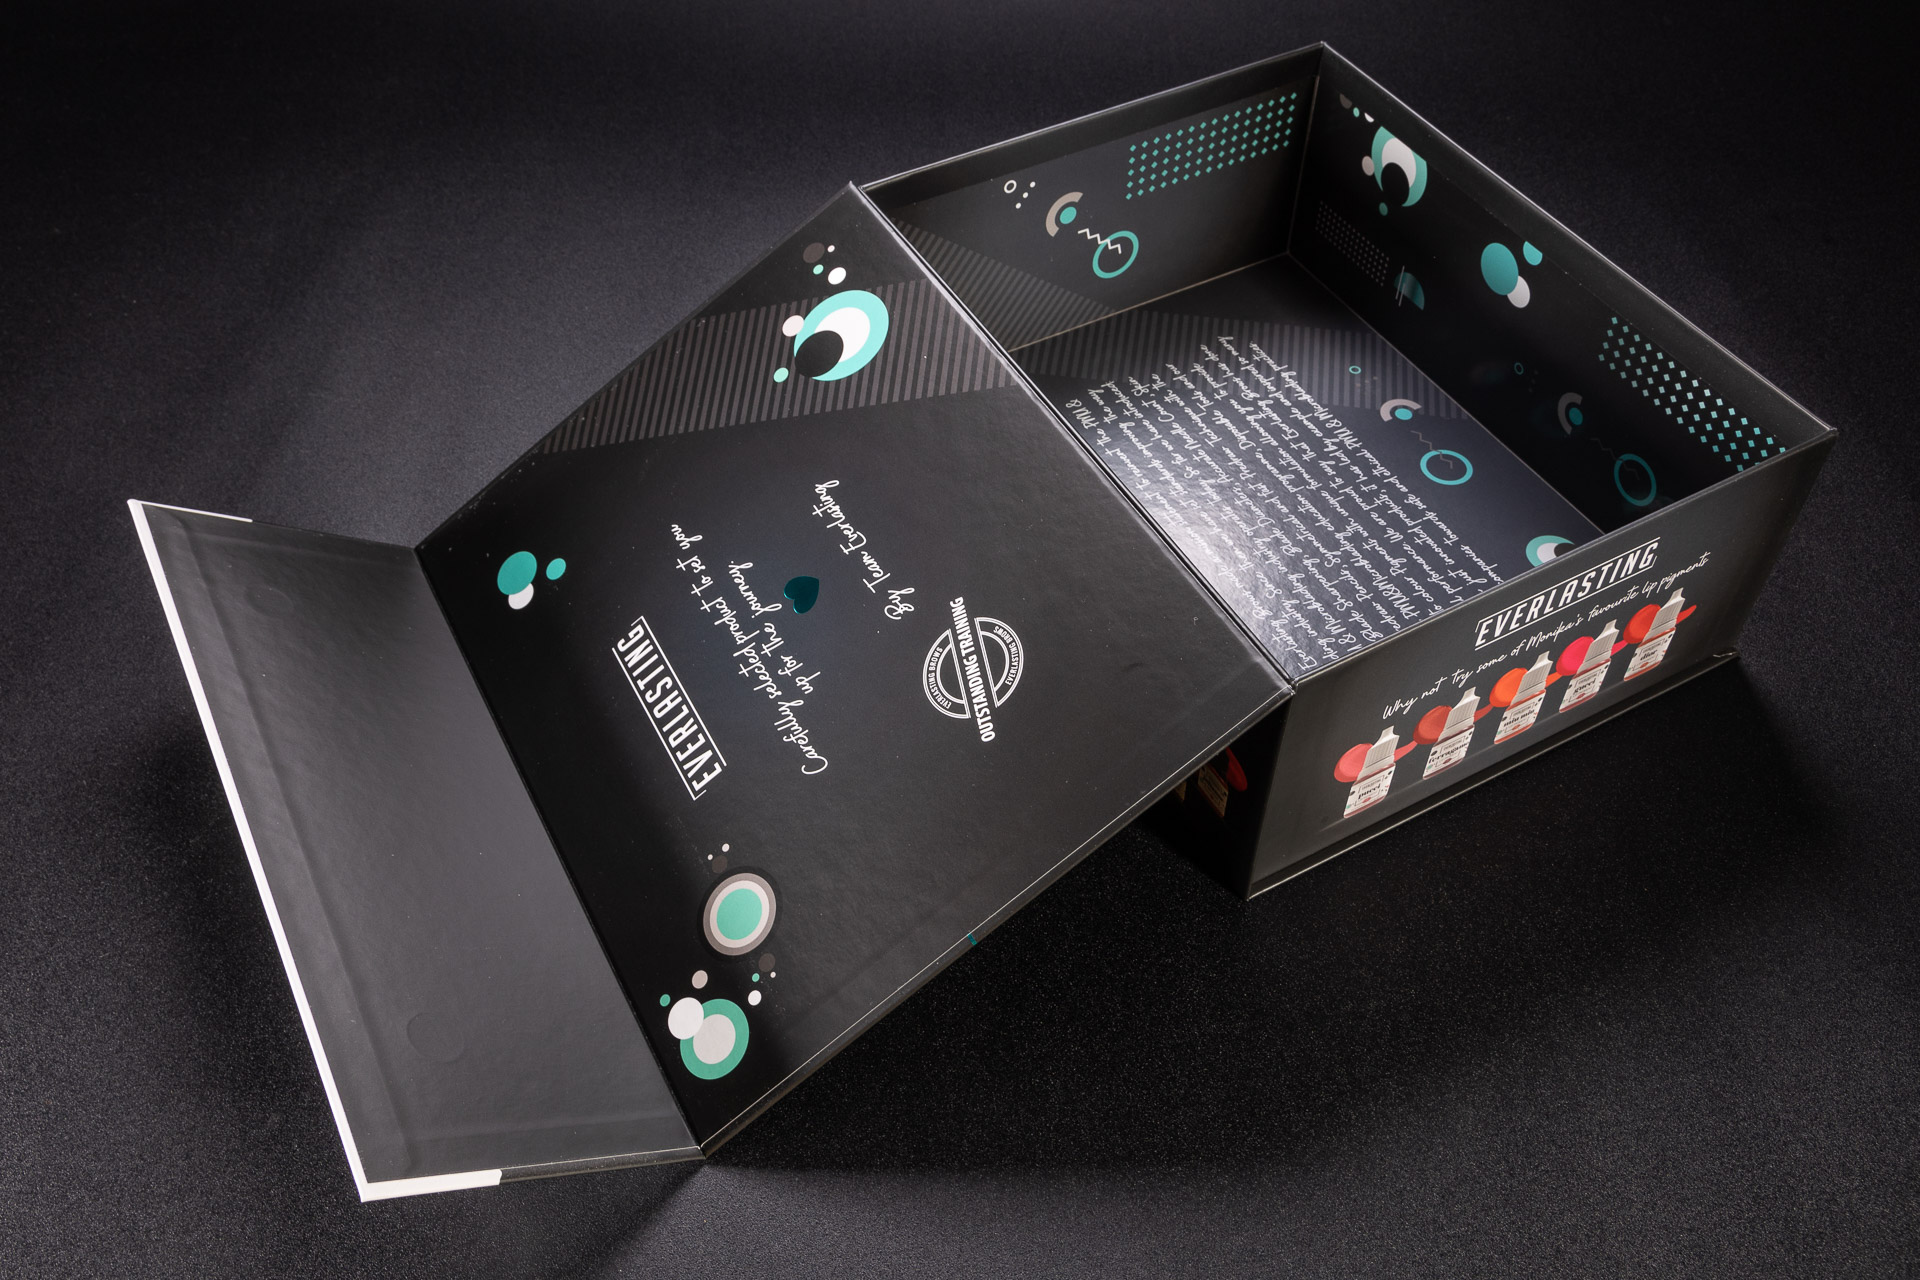
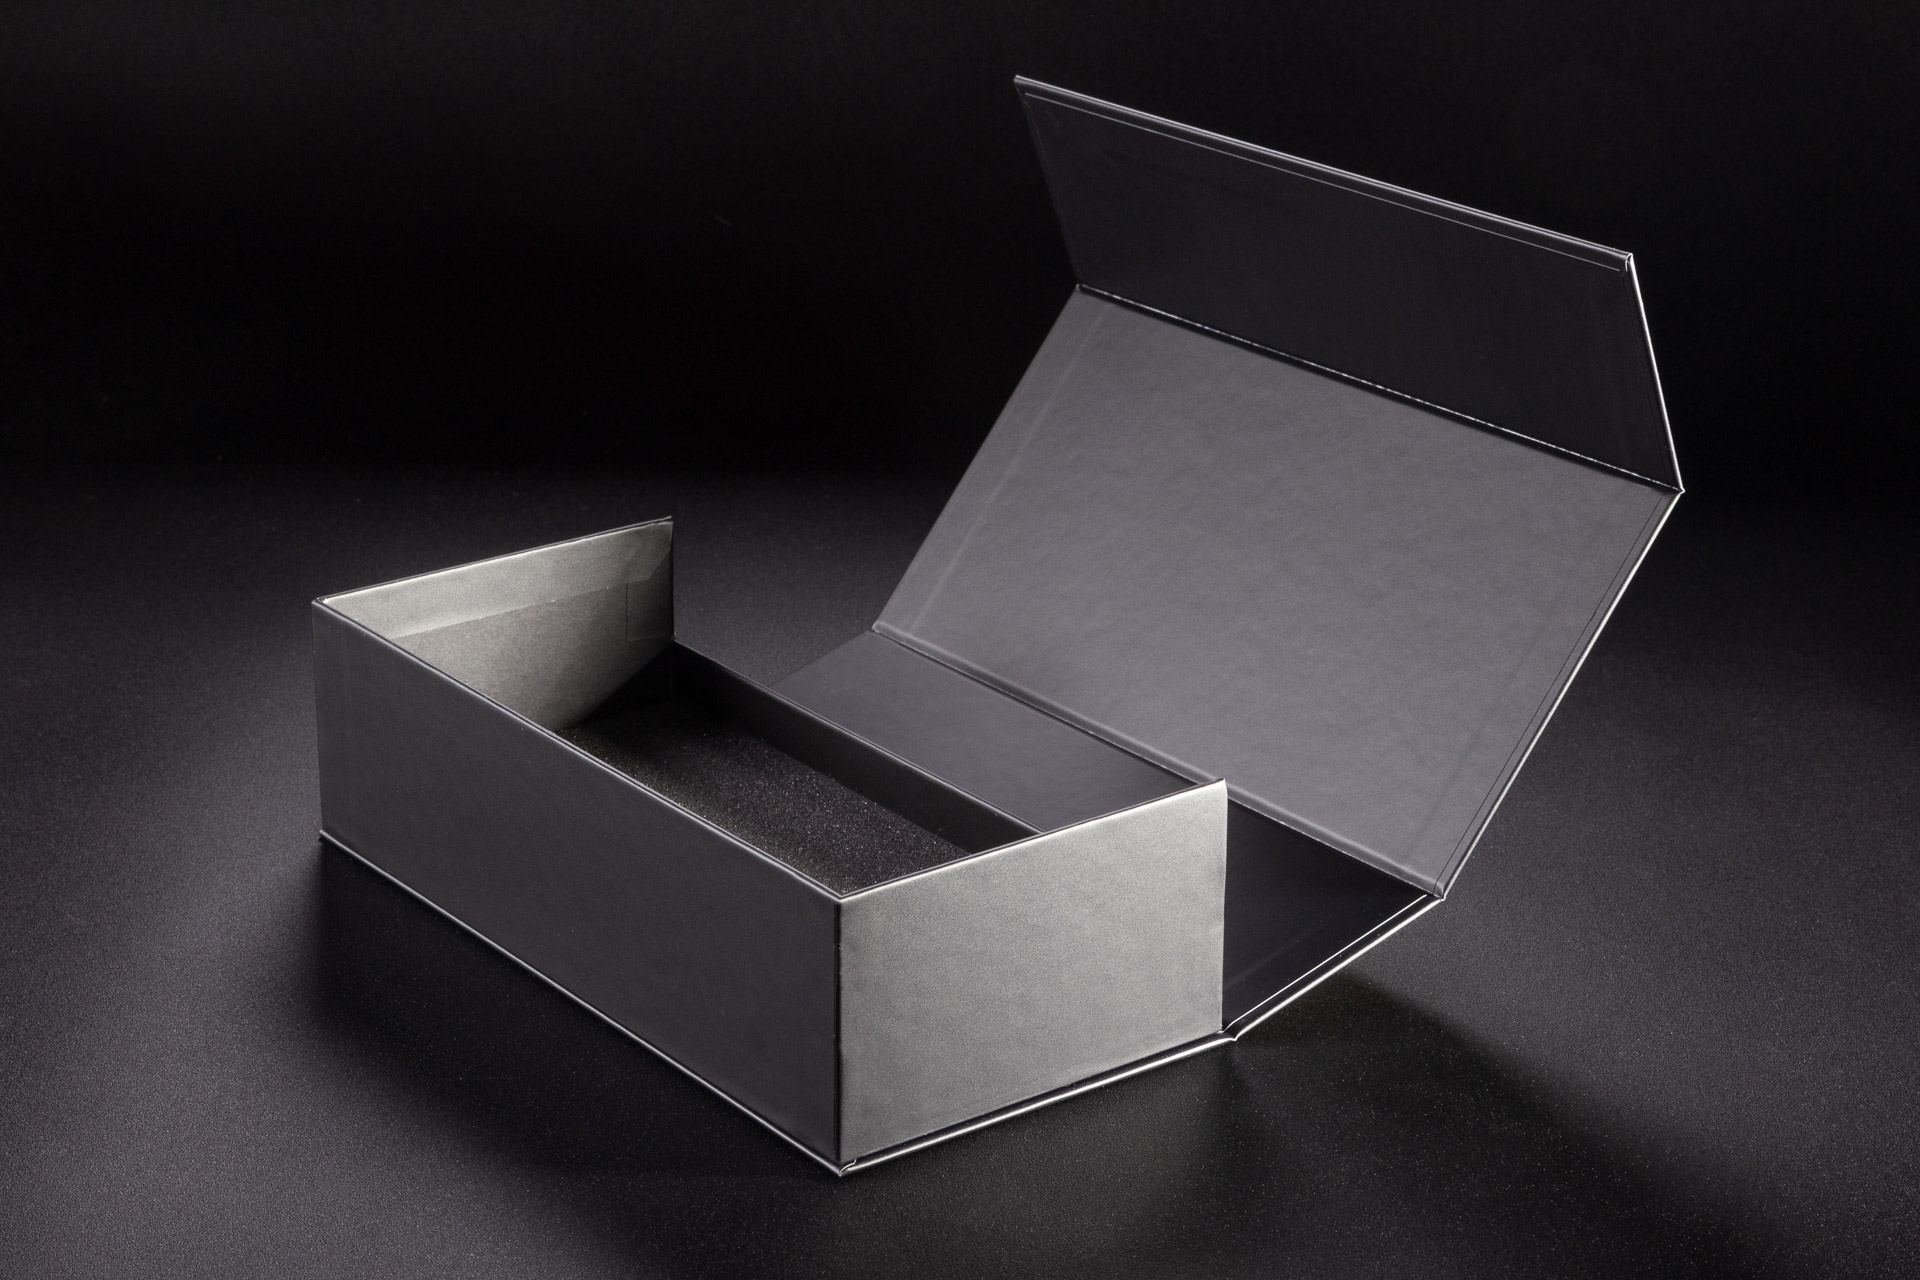
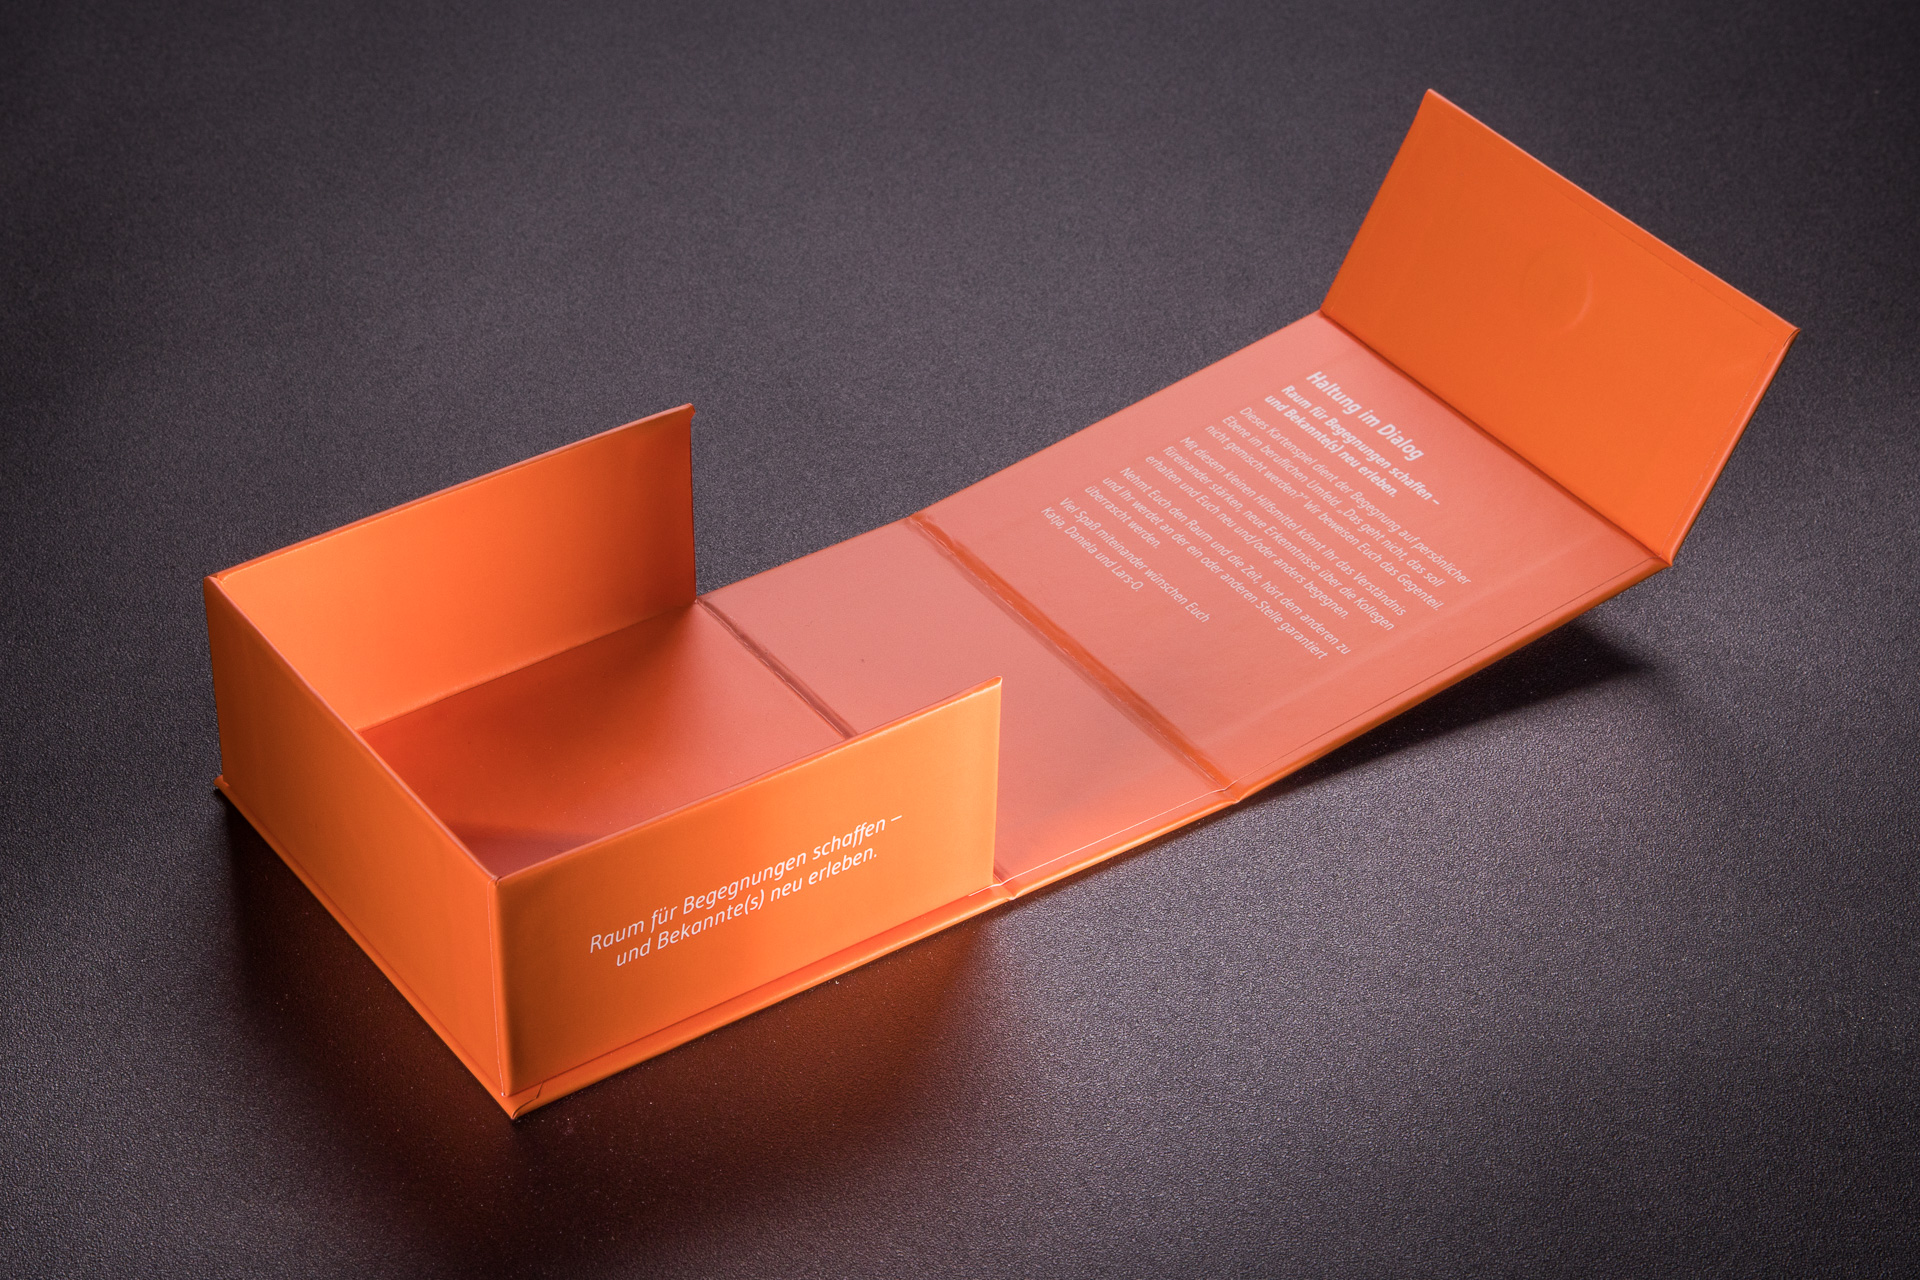
This is one of the most important characteristics of wrapper. Typically, the foldings overlap into the center of the box by around 15mm. However, they can be longer and reach even the bottom of the box. This process is used when we do not want the cardboard on the side walls of the box interior to be visible. We often extend the foldings so that their edge is hidden below the top edge of the insert. To hide the visible cardboard on the bottom, you can buff it before wrapping, or apply a bottom insert after wrapping.

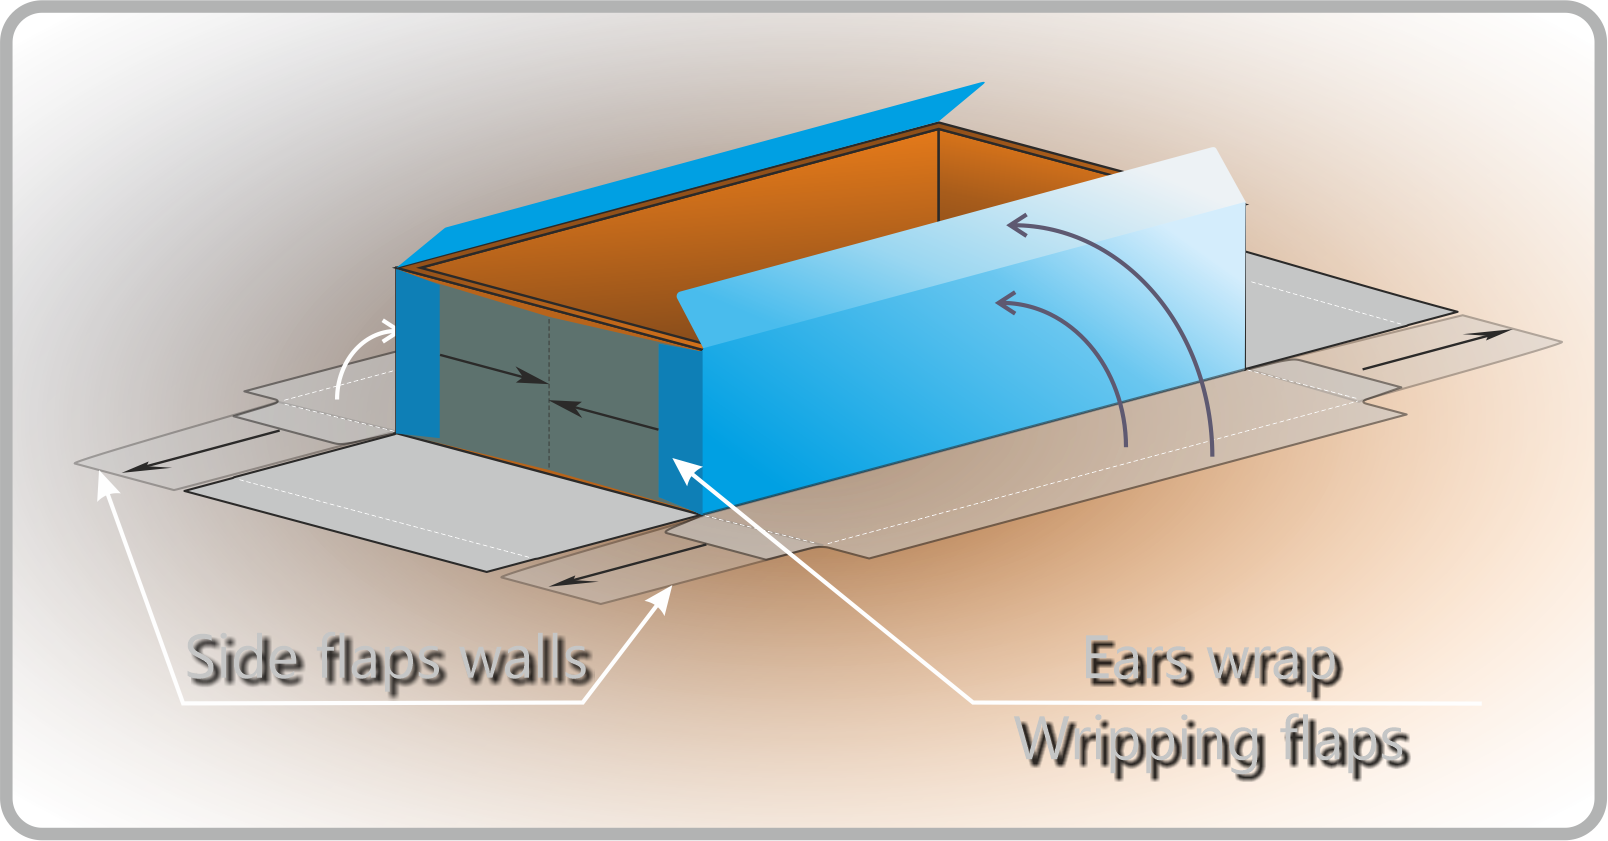
SIDE FLAPS (LEAVES)
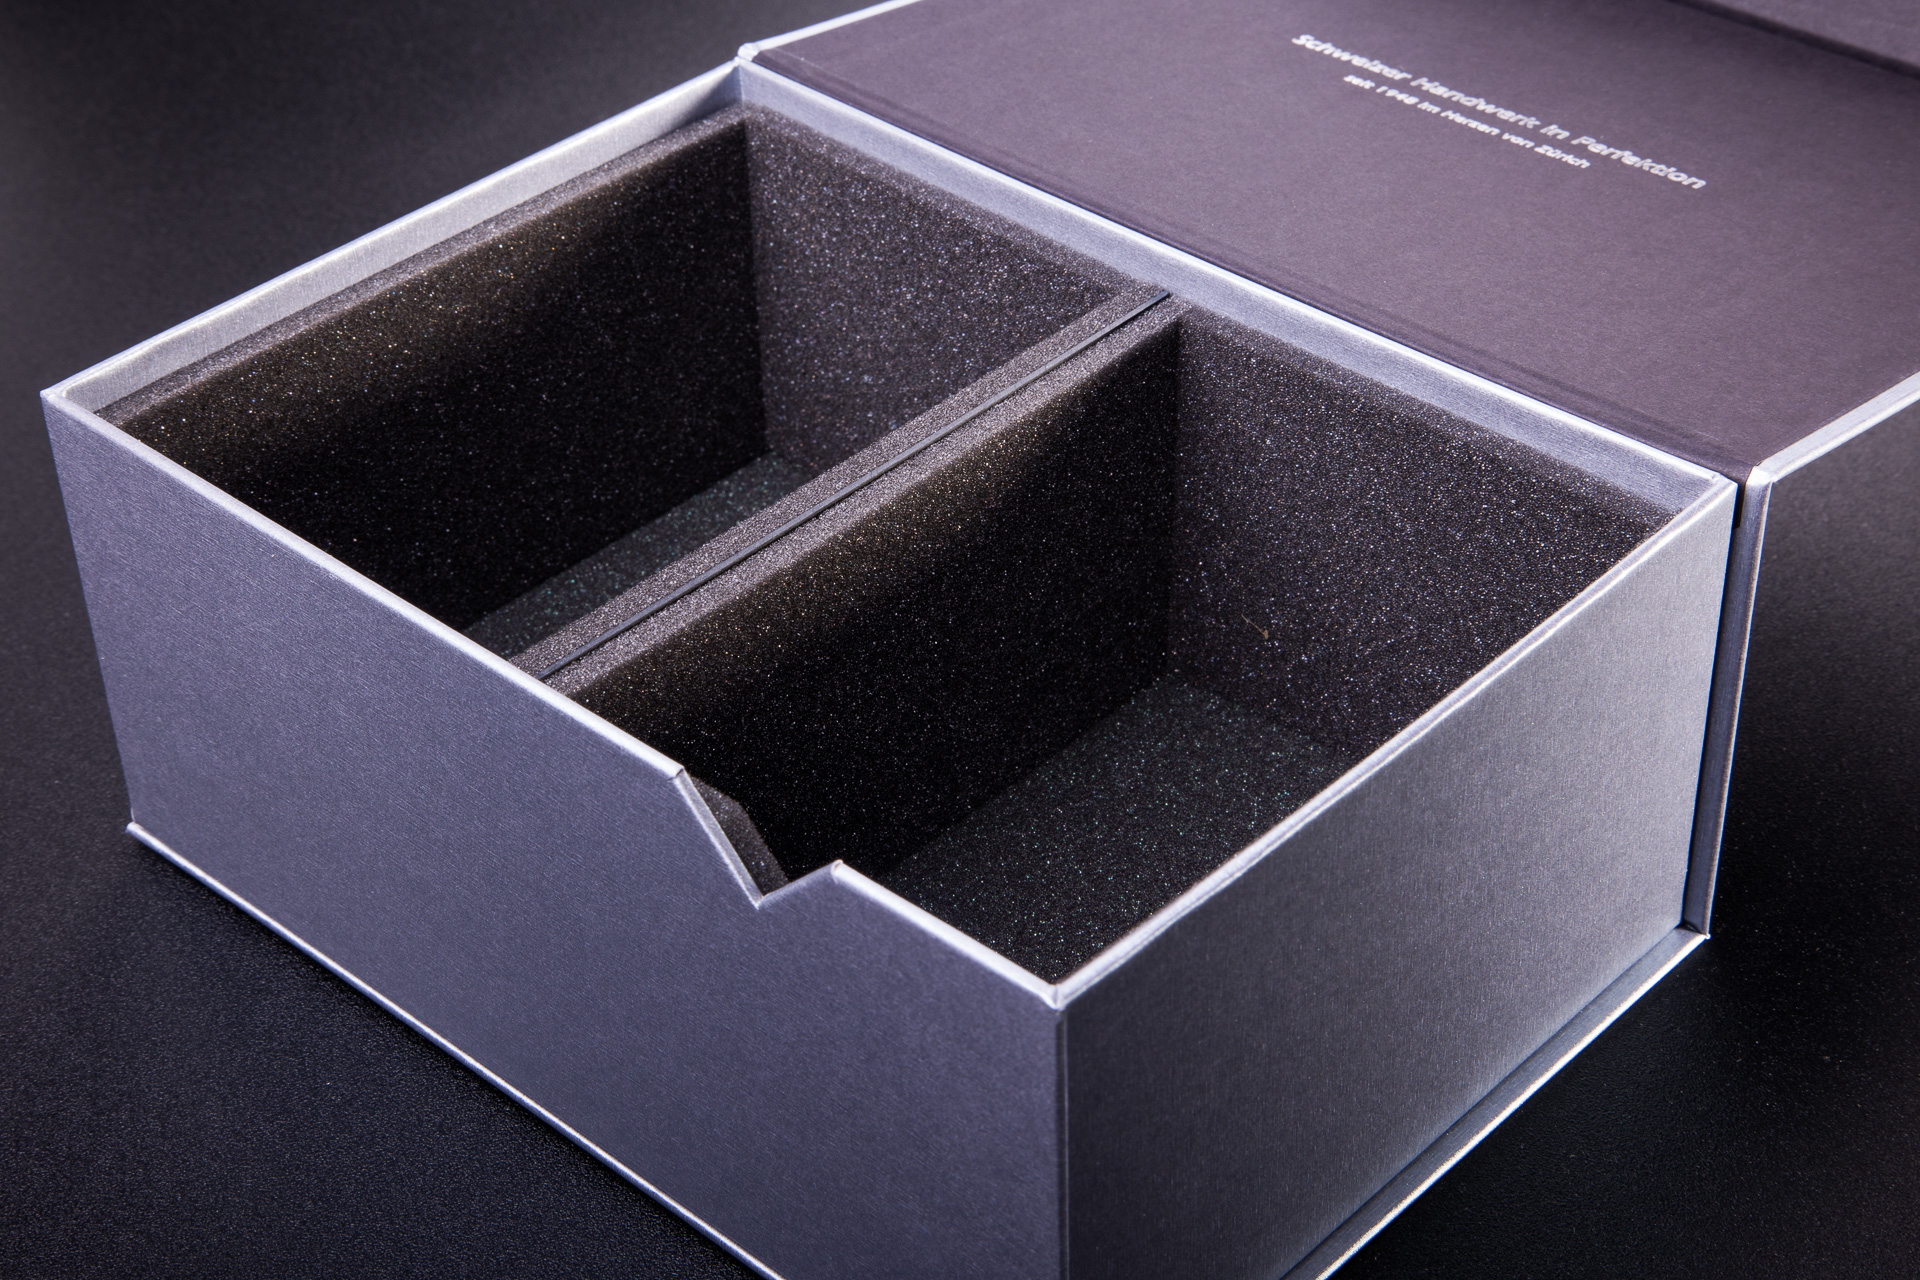
Side flaps are a structural element of the box. Thanks to them, the box is stiff and does not spread. We usually place them on the shorter side of the box. The standard width of the flaps is about 12-15mm. They are slightly visible under the wrapper. In some cases, we can extend them so that they are not visible at all and cover the entire side wall of the box.
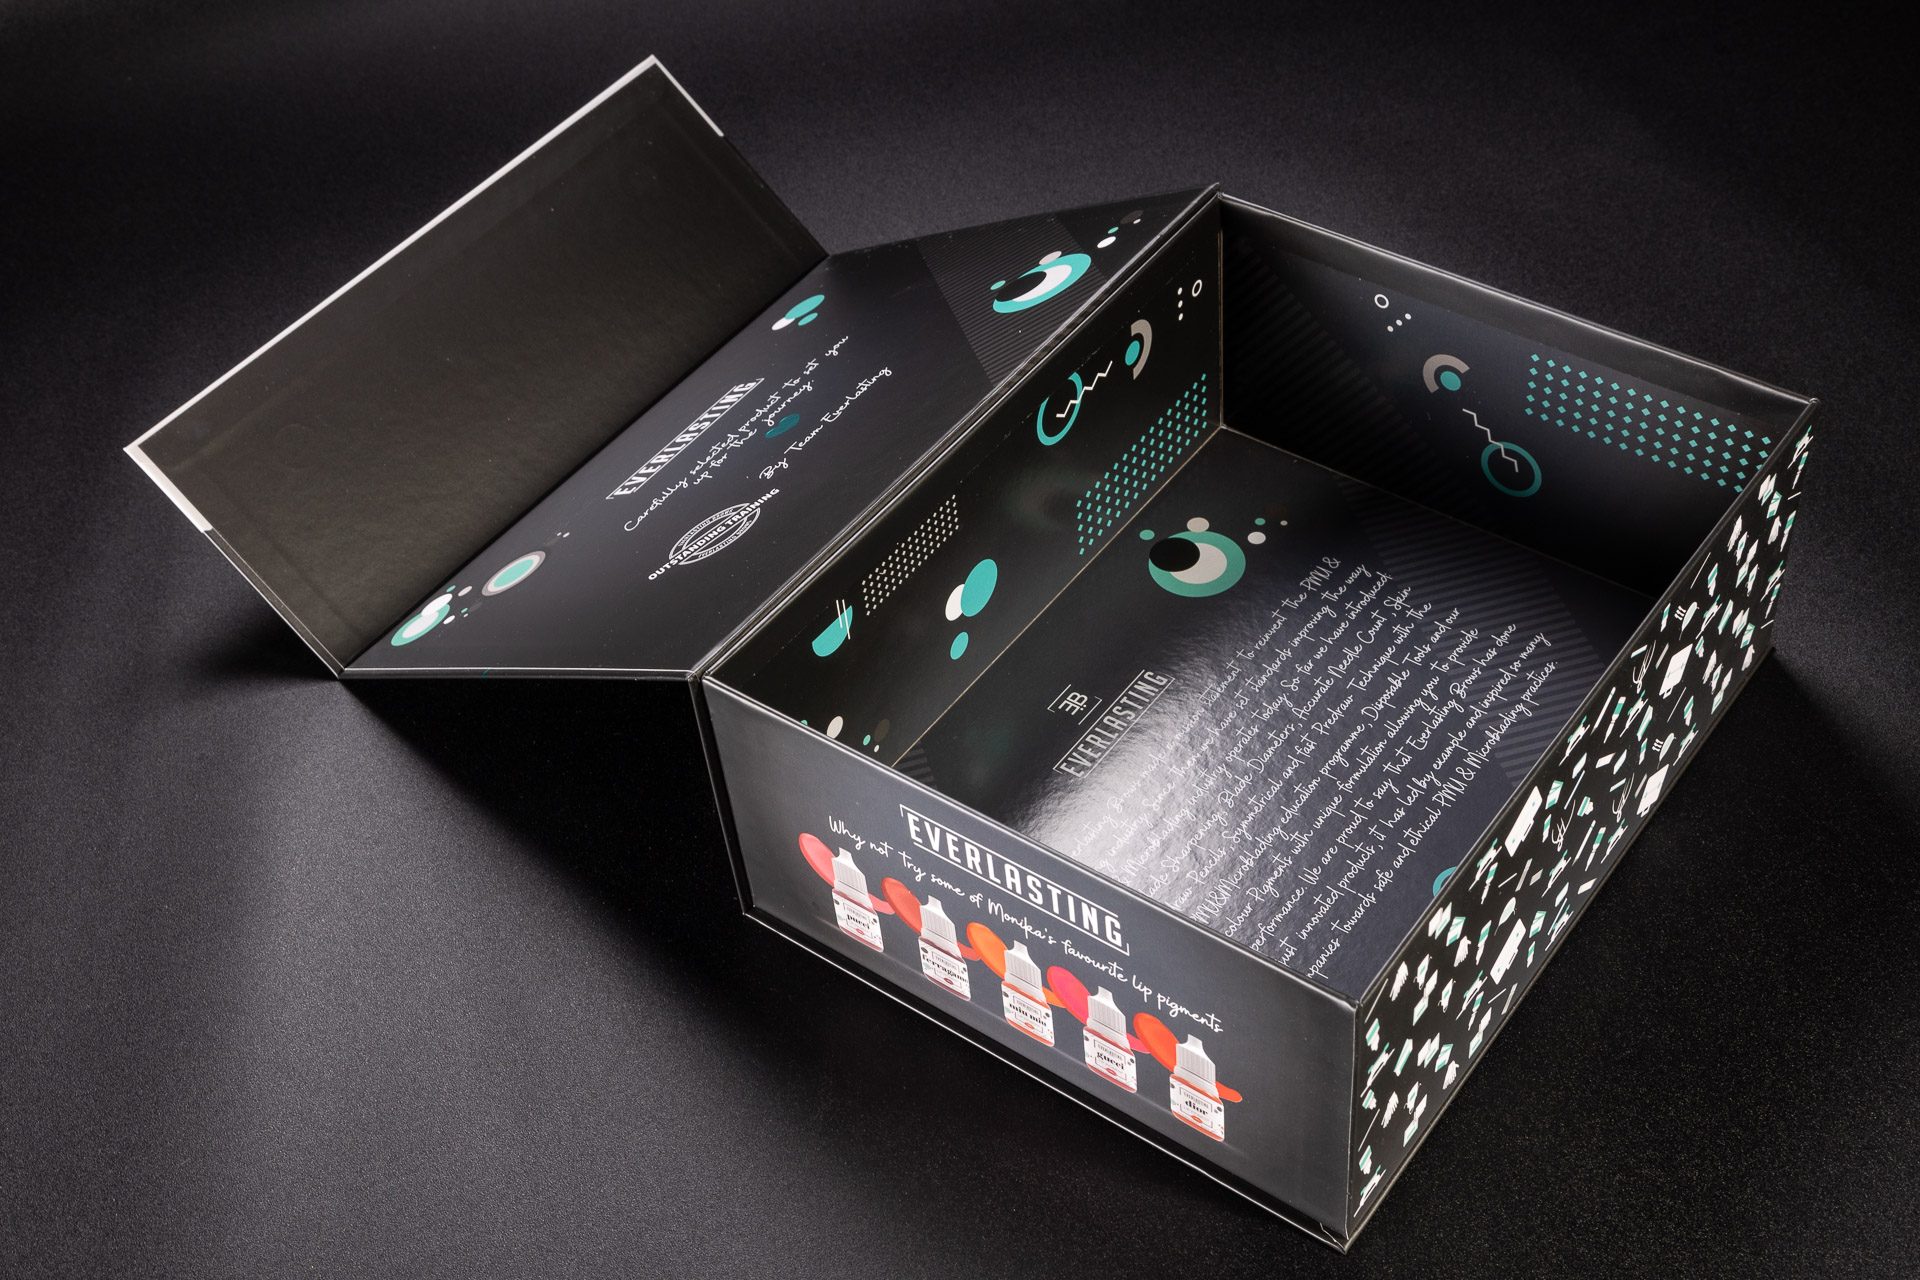
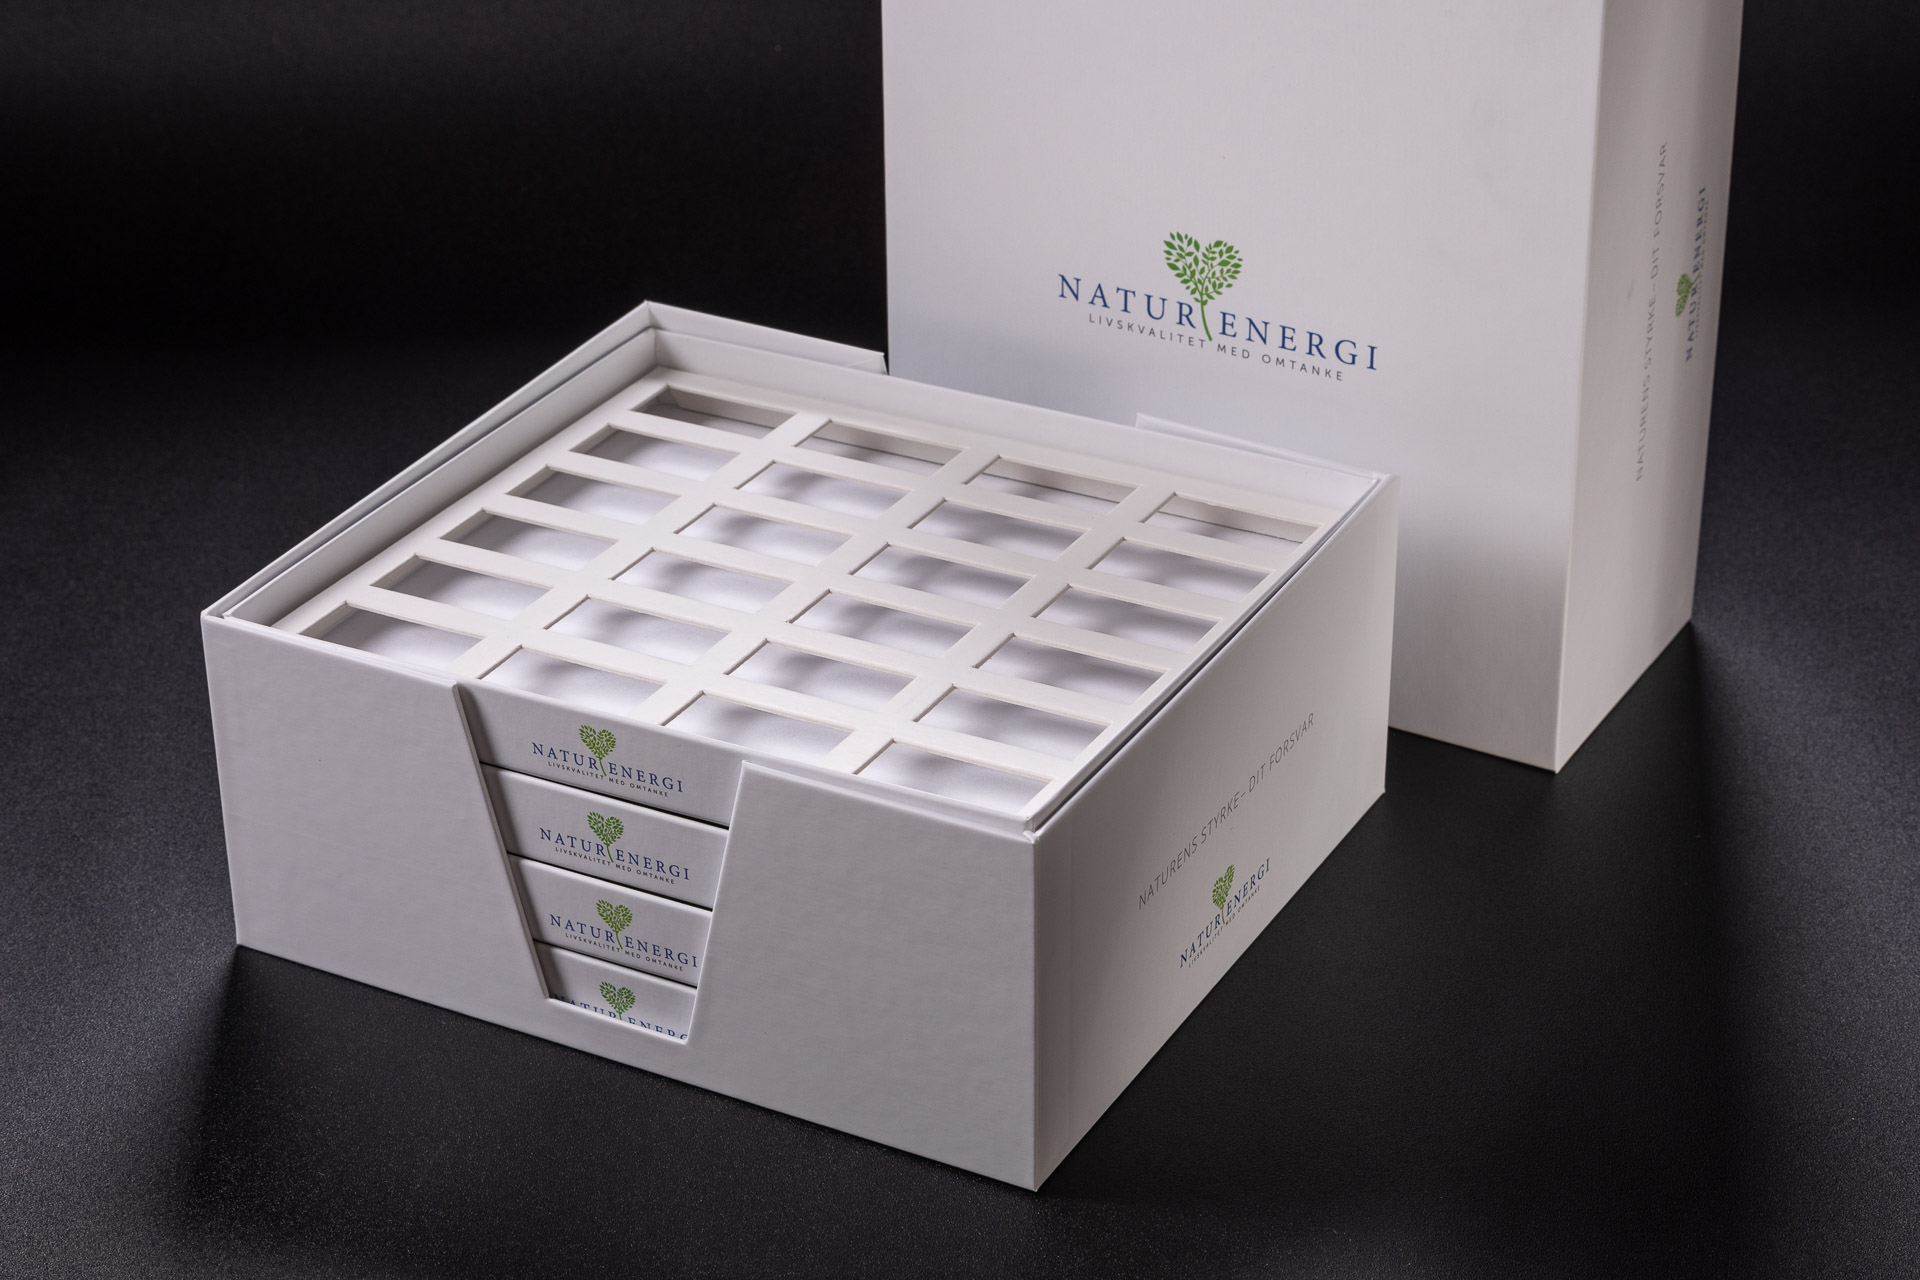
BASE INTERIOR
The interior walls of the base, which are not covered by the central fold or insert, are visible. We can leave this place gray. We also often use buffing this part of the cardboard with paper or wrapper. Most commonly it is white or black paper. Often it is decorative paper, the same as the wrapper of the box. You can also use pre-printed paper. We do not laminate this paper.
Click 2 times on the photo to enlarge.

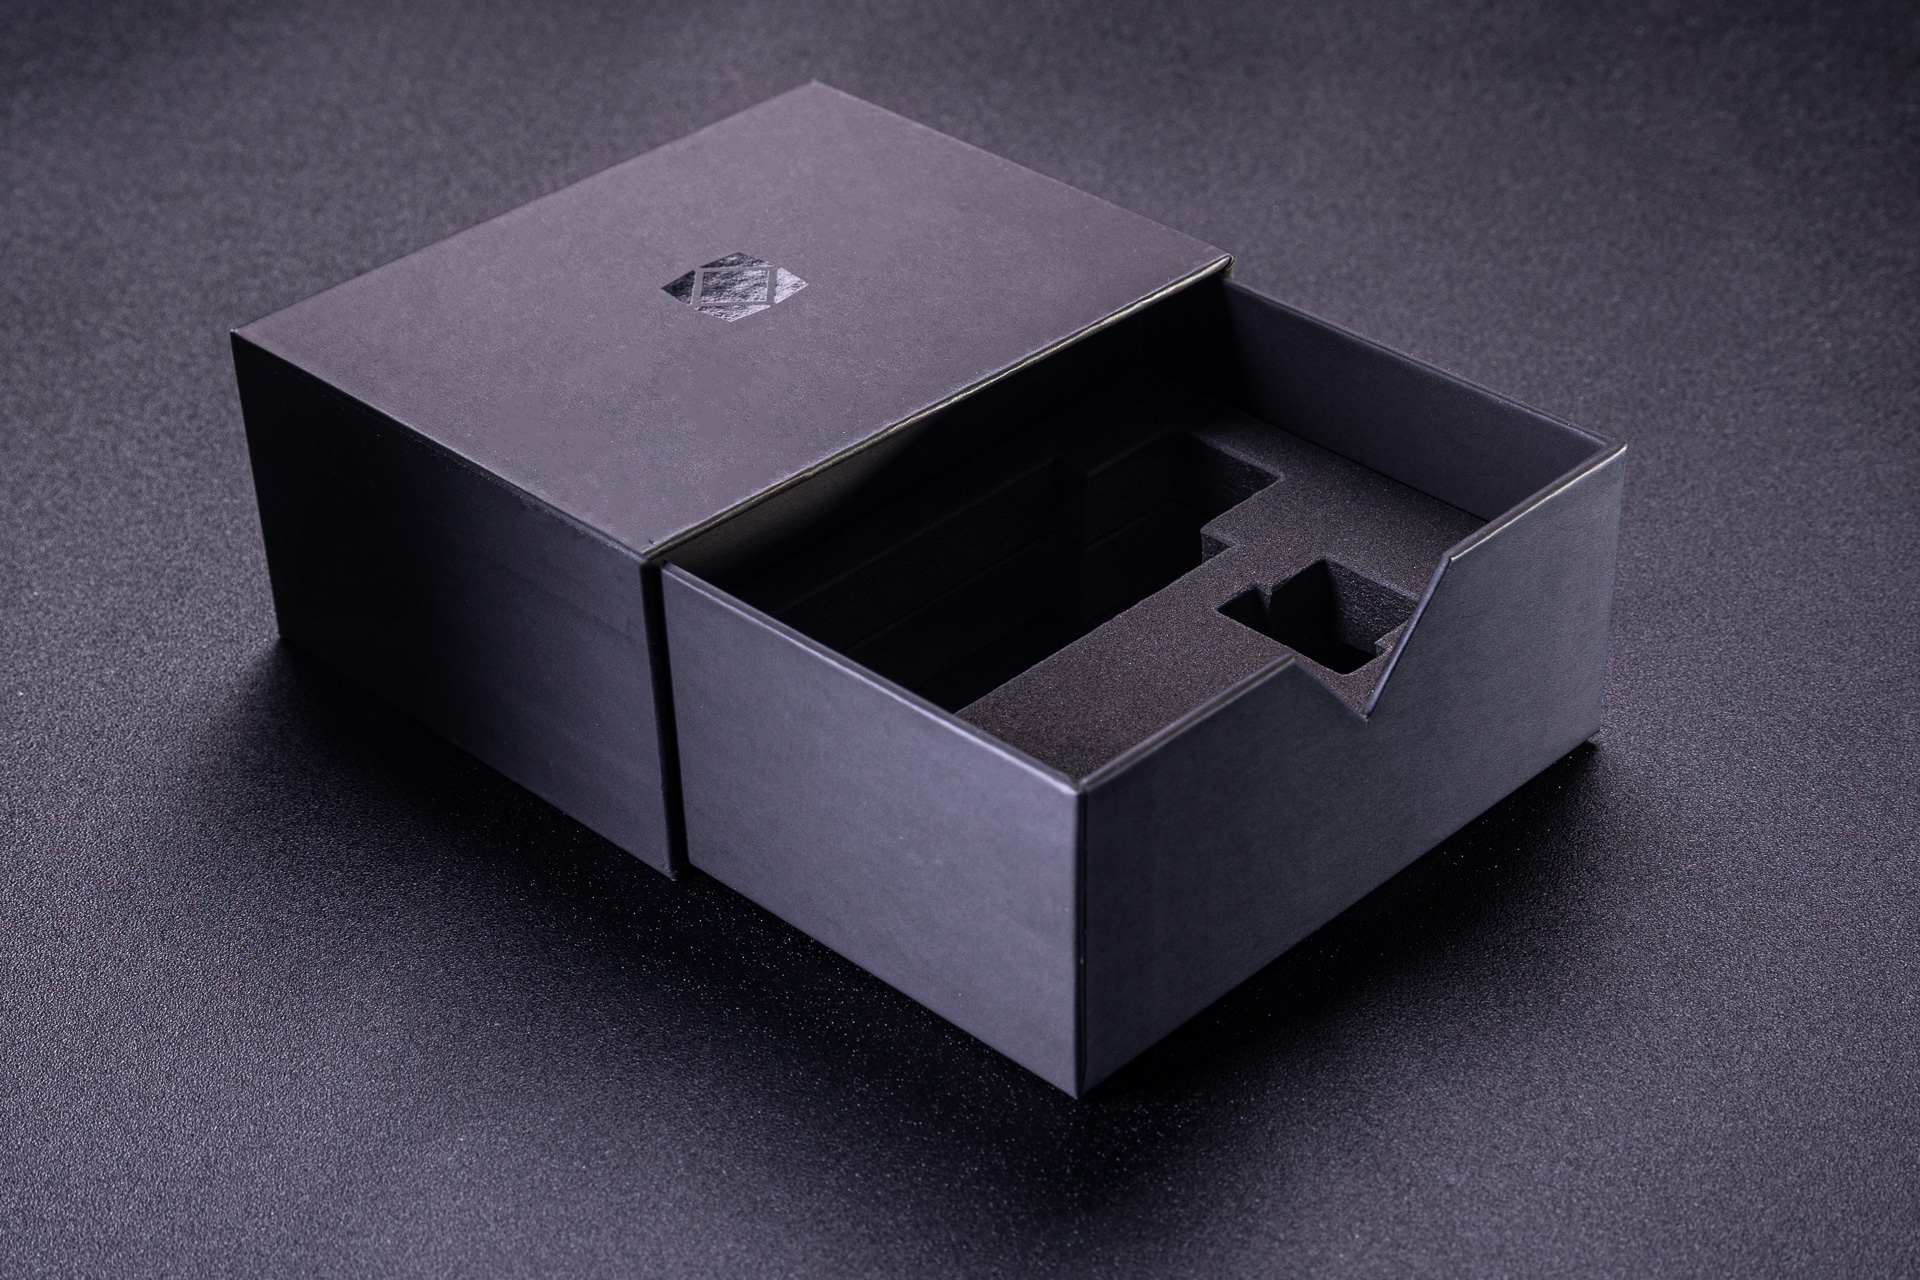
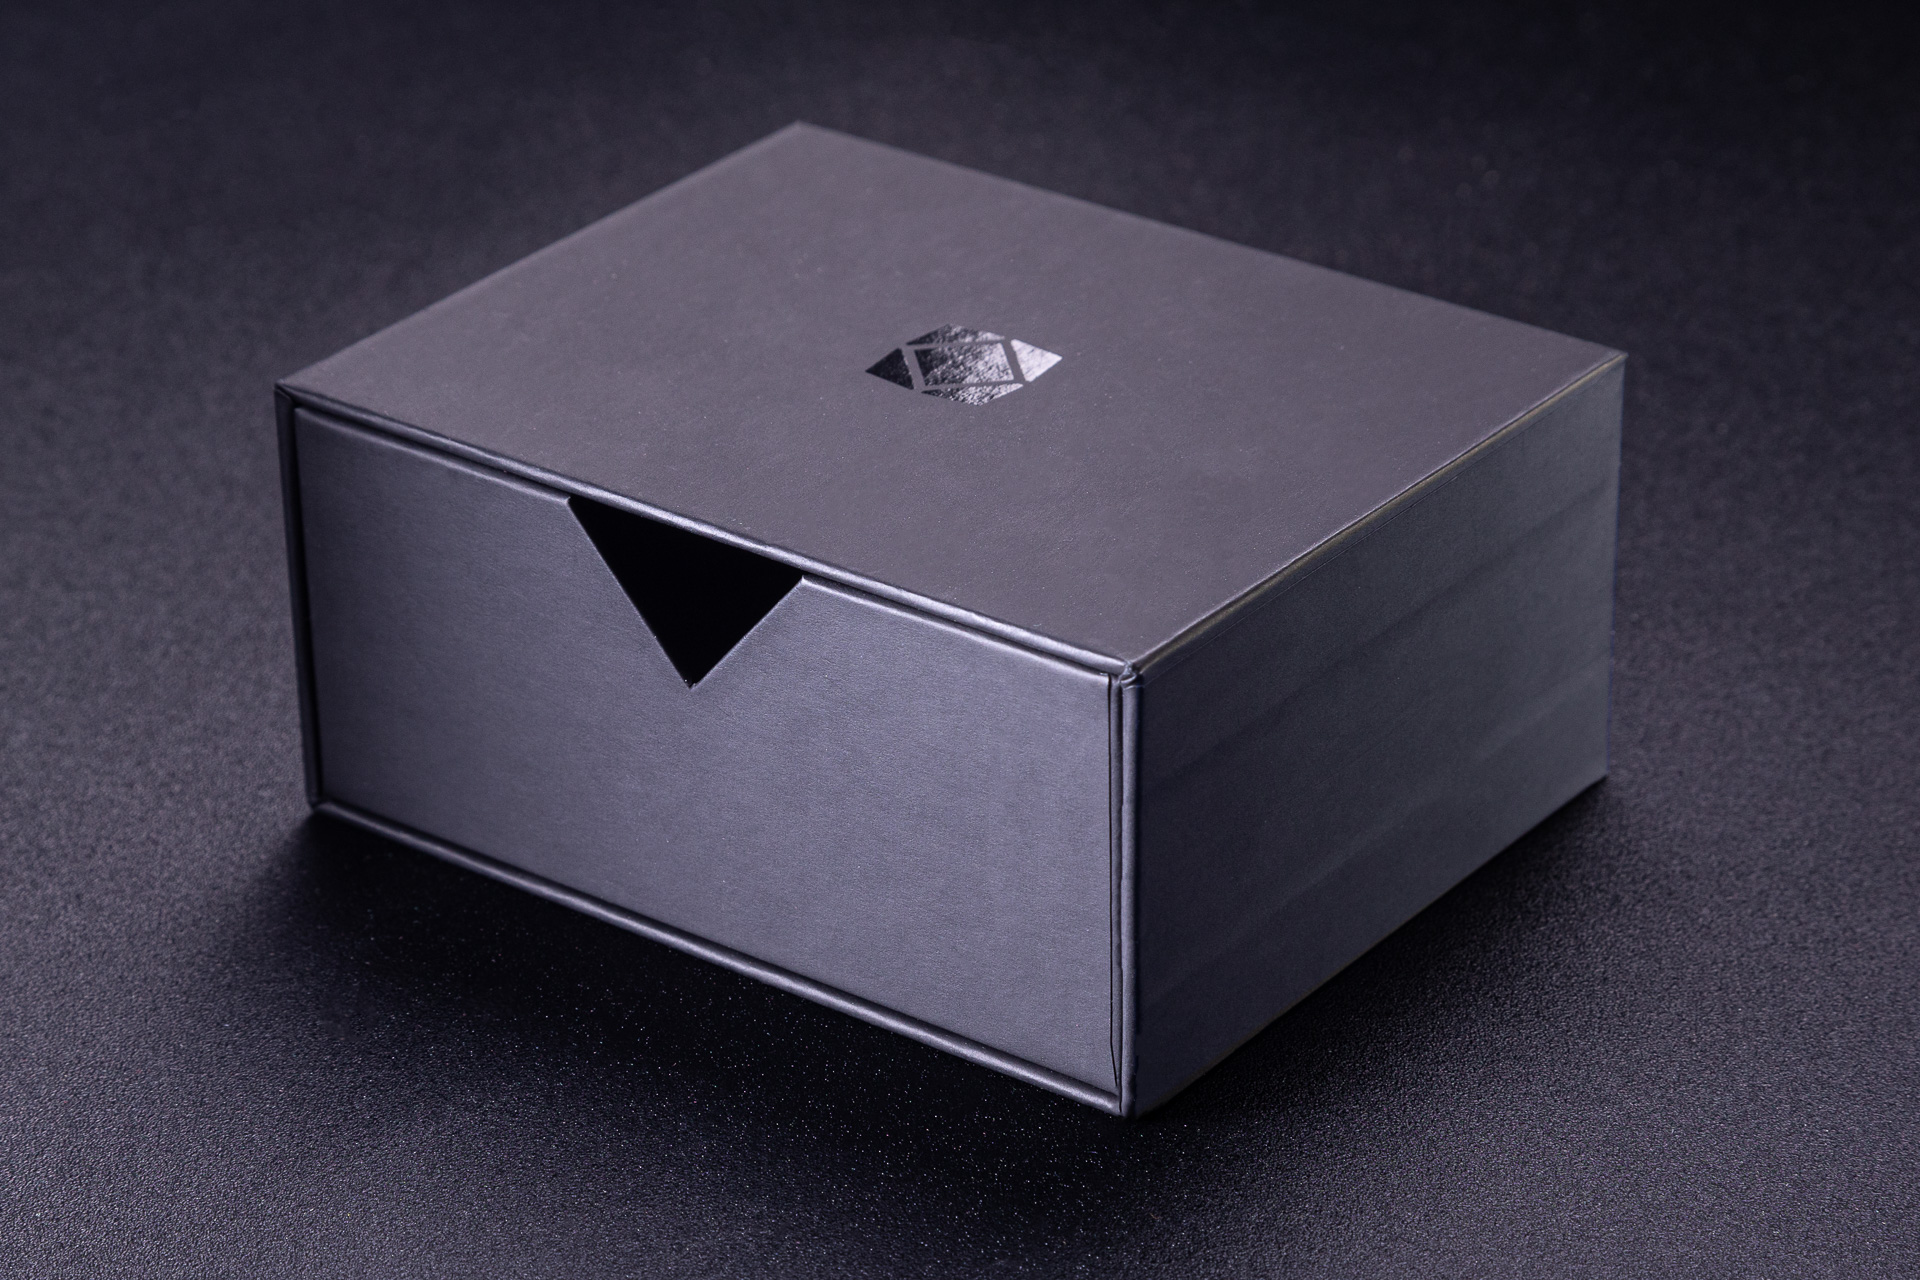
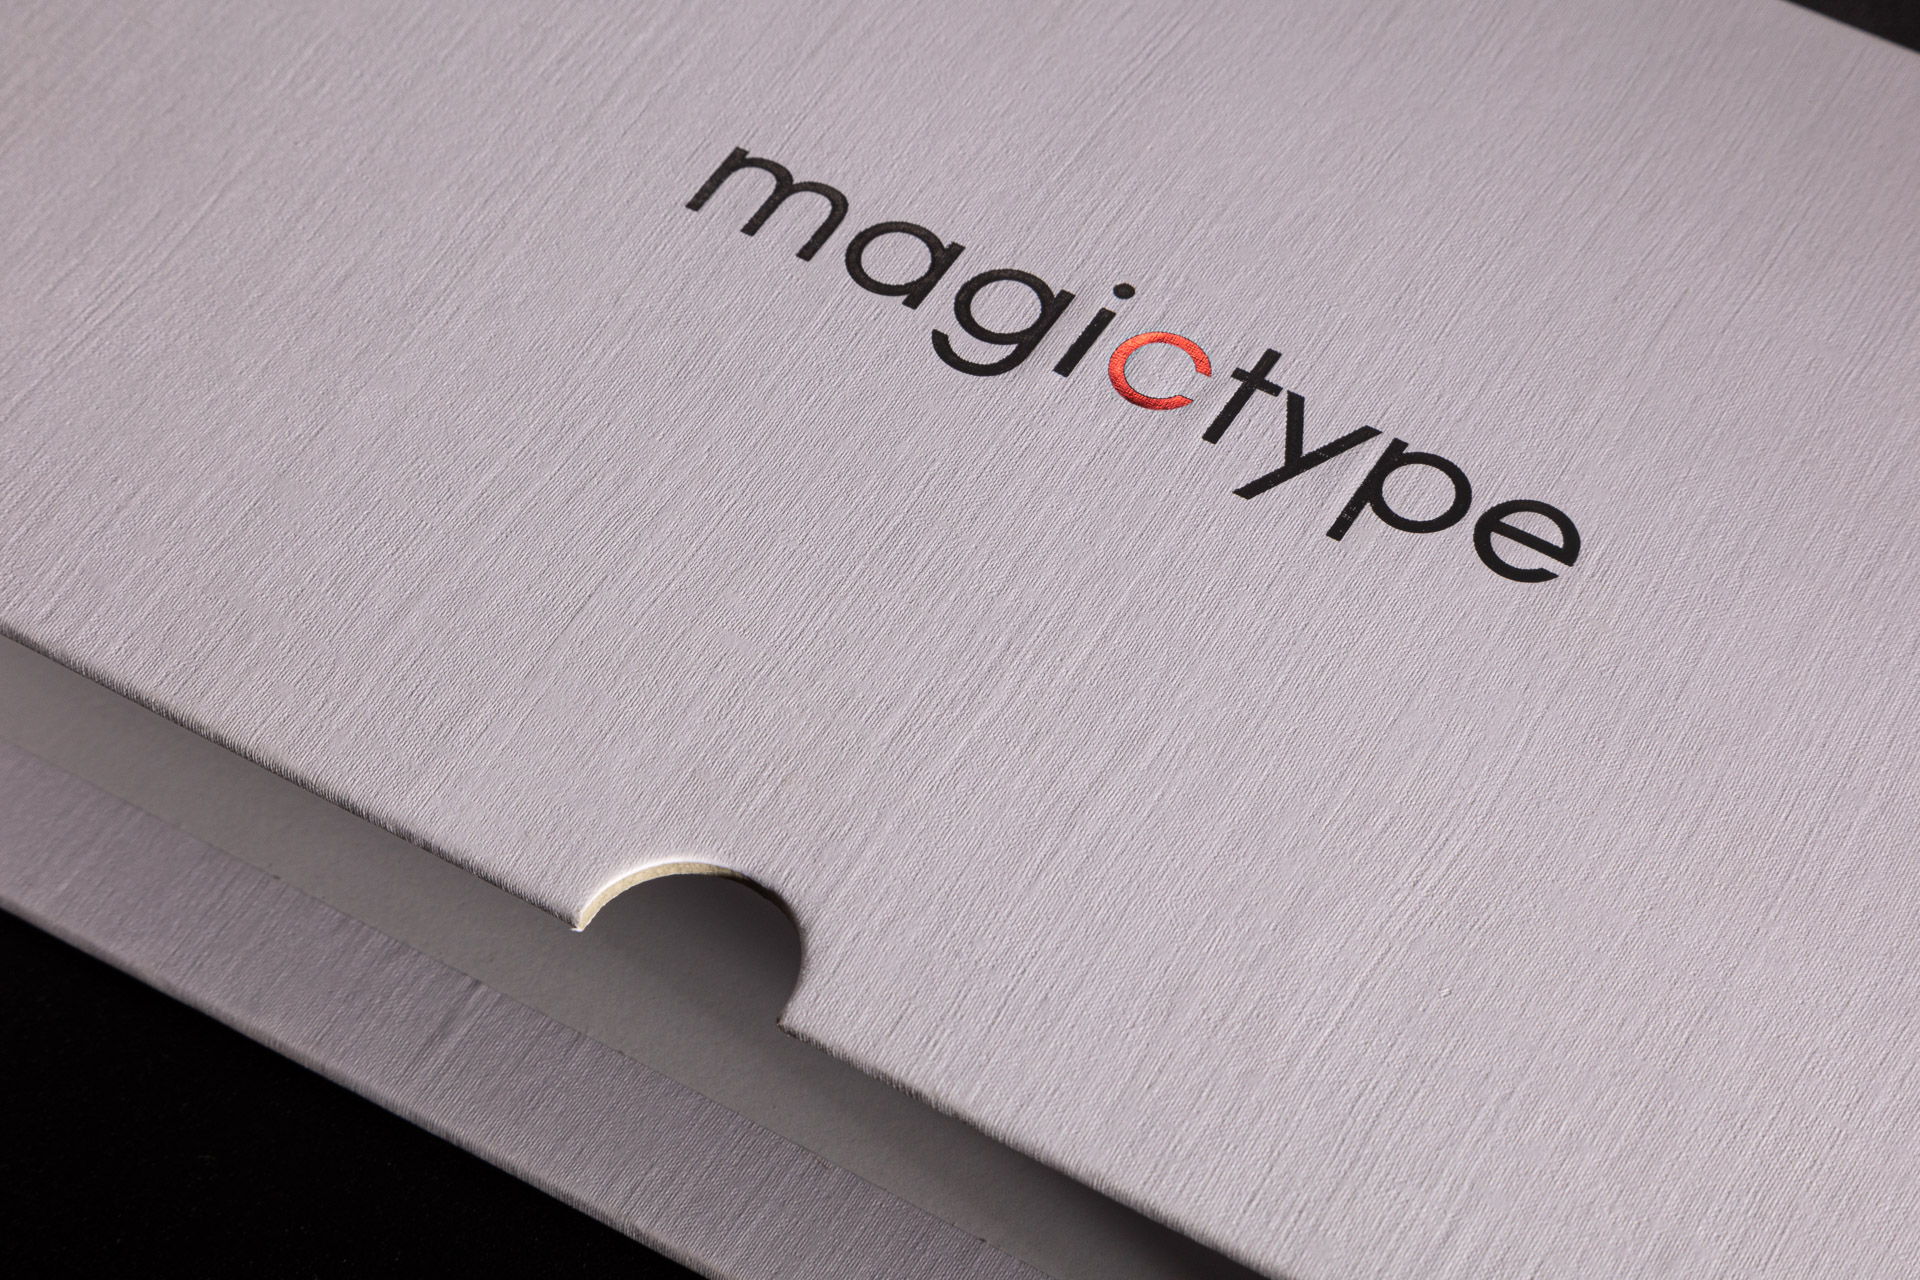
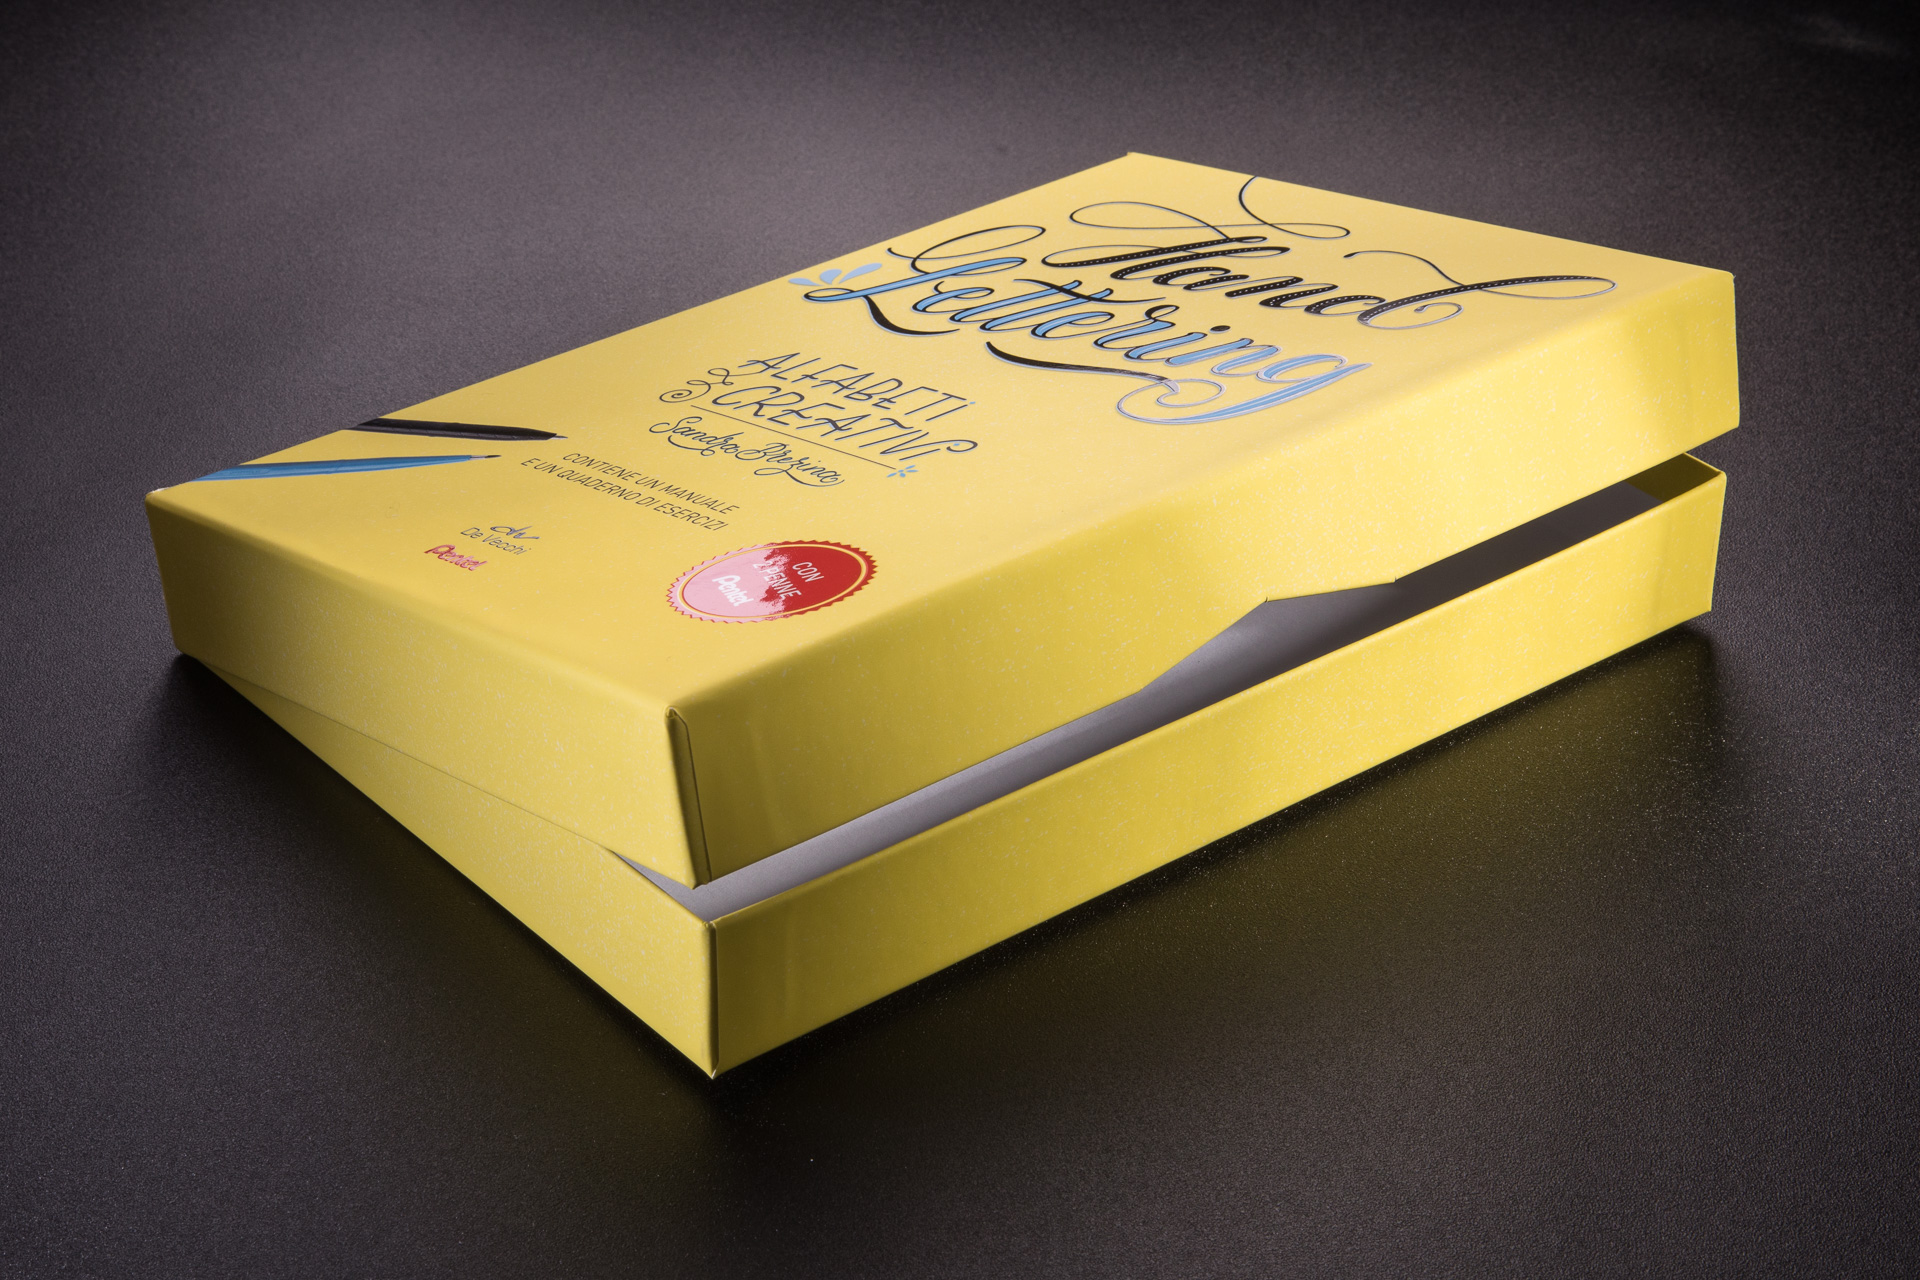
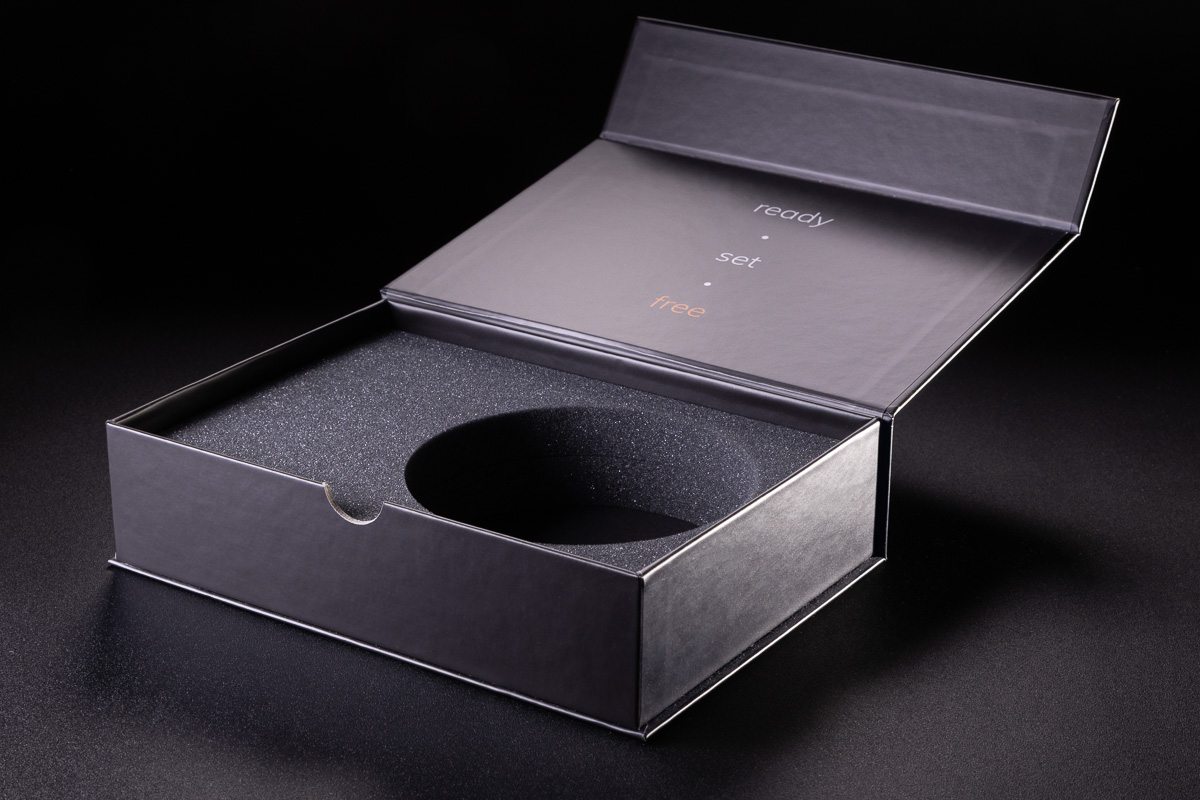
SIDE CUTOUTS
To facilitate the removal of contents, we can make cuts in the box base. There are two types of such cuts.
- End cuts made after the box has been wrapped. In such cuts, the cardboard cross-section is visible. They are usually small and round. They usually have a width of around 20mm and a depth of 10mm.
- Laminated cuts – their shape must consist of straight lines. The size is limited by the size of the wall. They can reach the bottom. An extreme case of such a cut is the entire box wall, however, we do not prefer such a solution. An example of such a cut is next to it.
STEPS IN THE CREATION OF THE BOX
The most important step in the creation of a rigid box base is GLUING (WRAPPING).
To carry it out, the cardboard and wrapper must be properly prepared first. This may involve many processes. It depends on the type of box, its color scheme, printing technology, and embellishments. These are processes in the scope of polygraphy and embellishments, which we will not discuss now. Let’s focus only on gluing the box.
- The previously prepared cardboard in the form of a cross is shaped into a box shape. The box skeleton maintains its shape thanks to the tape being stuck. It is so thin that it is practically invisible after gluing.
- The previously cut wrapper is covered with glue over its entire surface. The cardboard box base is very carefully applied to the wrapper coated with glue.
- In the next step, the wrapper is pulled onto the sides of the base. First, the two longer sides and side flaps are pulled, then the two remaining sides.
- The final step is to pull and stick the central folds into the box interior. This step also involves the final pressing of the sides. Depending on the type of machine, there may be minor changes in the sequence of processes.
For example, on one of the machines, two sides + side flaps are glued and immediately two central folds, and then two remaining sides with folds. However, this does not affect the appearance or durability of the box.
